
This procedure aims to show how to install Ubuntu alongside Windows 10 on a computer using UEFI .
It uses rEFInd to configure a boot menu for booting Ubuntu Live environment. The tool’s detailed procedure as well as other options are presented here.
Following is presented a summarized installation process:
- First, download rEFInd and extract it, and install rEFInd,
- Open CMD with Administrator privileges and run the following command:
Note: (you may have to change the drive letter from S: to any available in your computer)
mountvol S: /S
- In the CMD console move to the folder upper the rEFInd directory installation.
For example, if rEFInd was installed in “C:\Program Files\refind”, so move to C:\Program Files”:
cd "C:\Program Files"
- Next, copy the rEFInd directory to the new mounted volume “S:\” (or whatever letter you choose in your computer).
xcopy /E refind S:\EFI\refind\
- Now, navigate to the rEFInd directory in the new volume:
cd S:\EFI\refind
- Rename the conf file:
rename refind.conf-sample refind.conf
- Run the bcdedit utility to configure the boot partition.
Important: Note that {bootmgr} is entered as such; that’s not a notation for a variable.
Also, change refind_x64.efi to refind_ia32.efi on systems with 32-bit EFIs. Such computers are rare, and most of them are tablets. Check your Windows bit depth to determine which binary you should use.
bcdedit /set {bootmgr} path \EFI\refind\refind_x64.efi
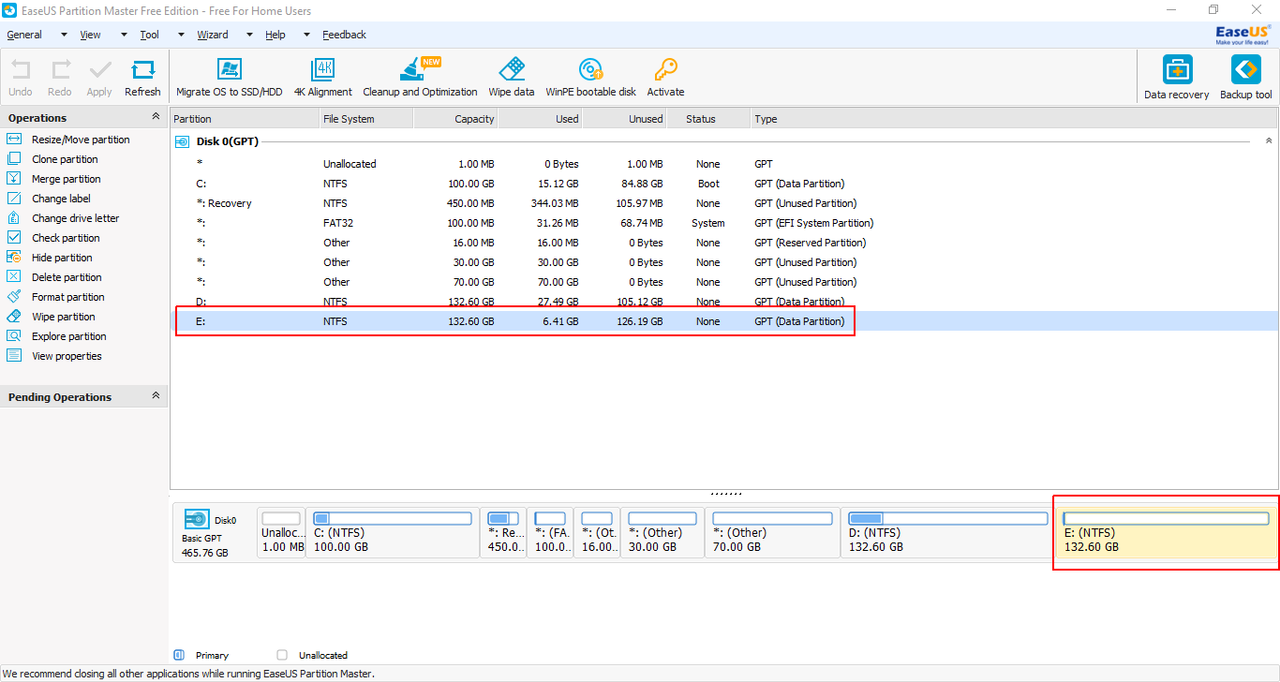
- Download EaseUS Partition Master Free and run it.
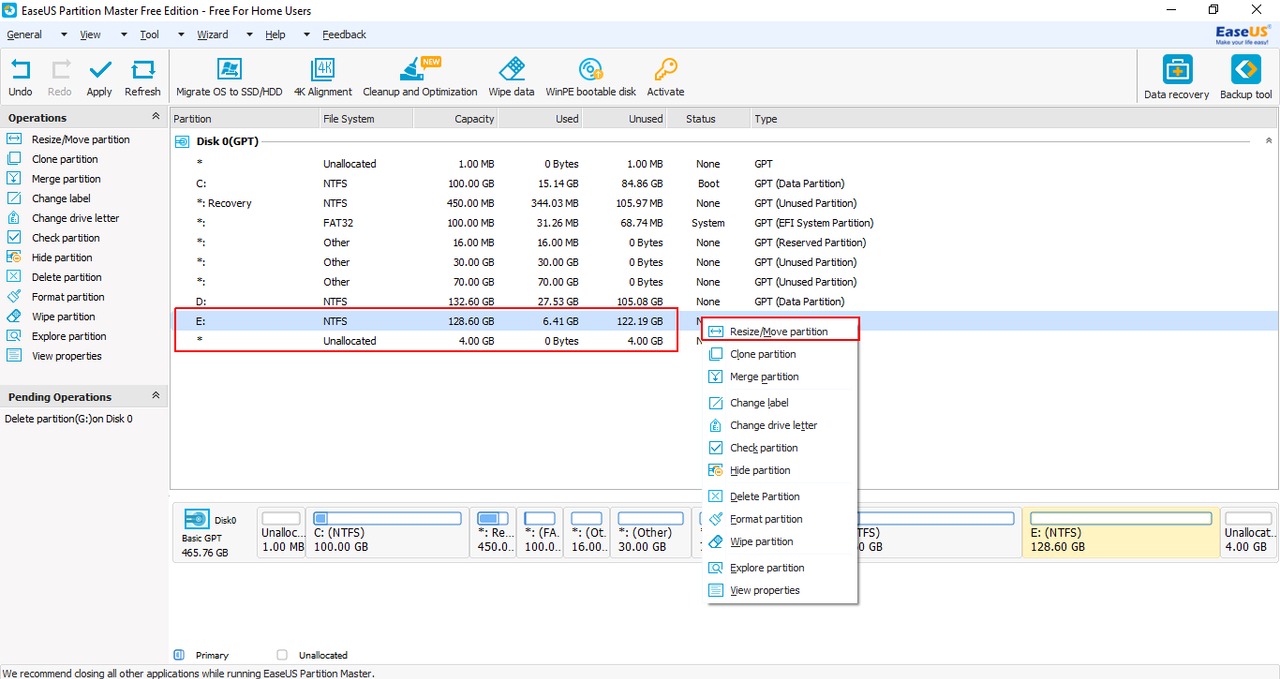
- Select your last partition.
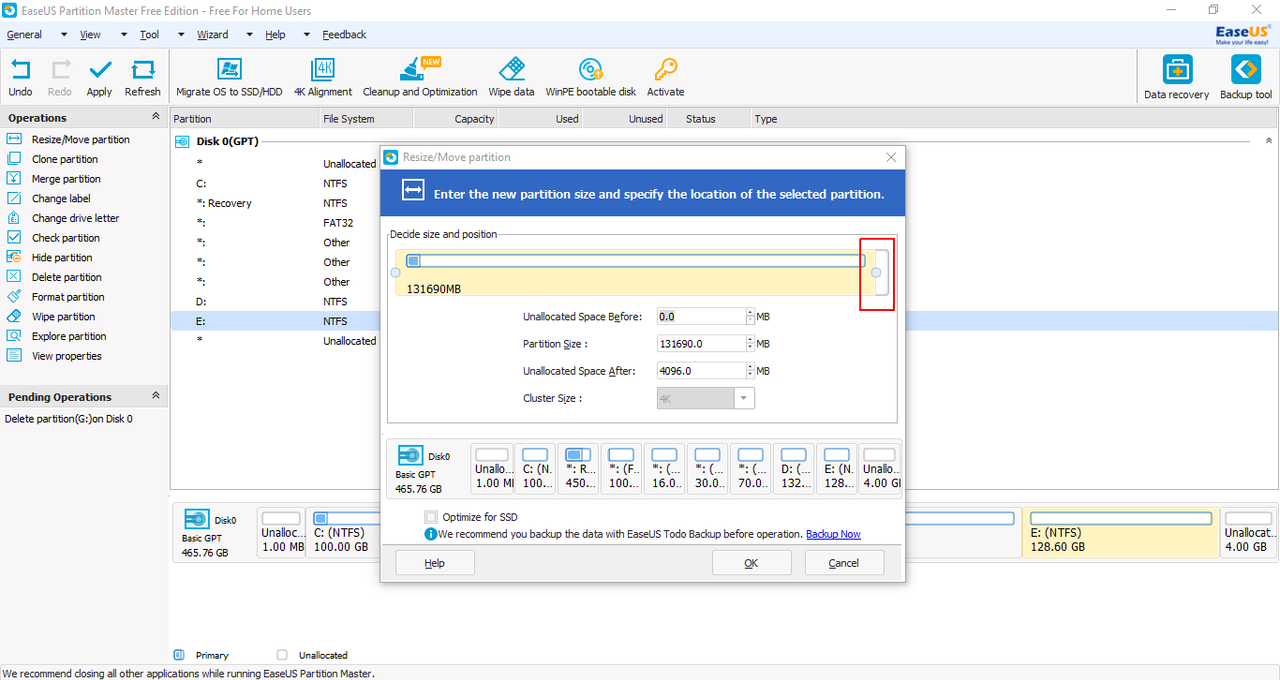
- Right-click on it and from the context menu select Resize/Move partition.
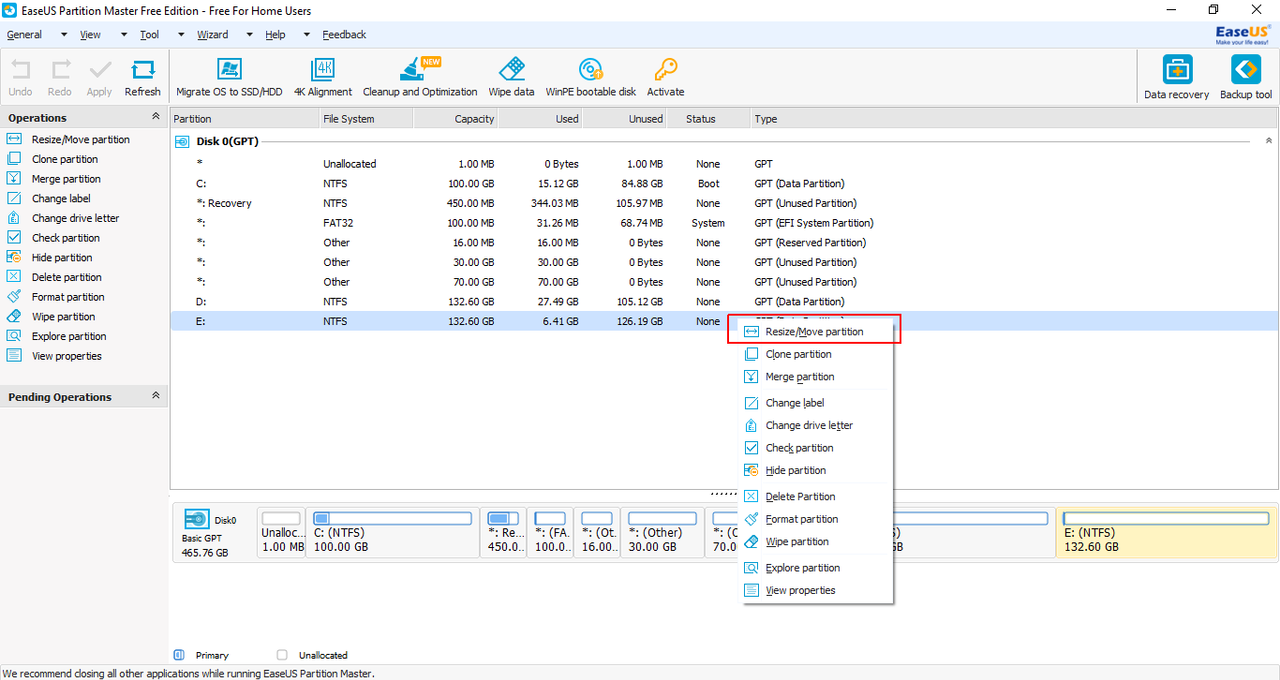
- From the size shown beside Partition Size minus 4096 MB (to mimic a 4GB pen-drive).
- Press tab and the rest will be auto-completed.

- Select the newly created partition and right-click on it. Select Create Partition from the context menu.
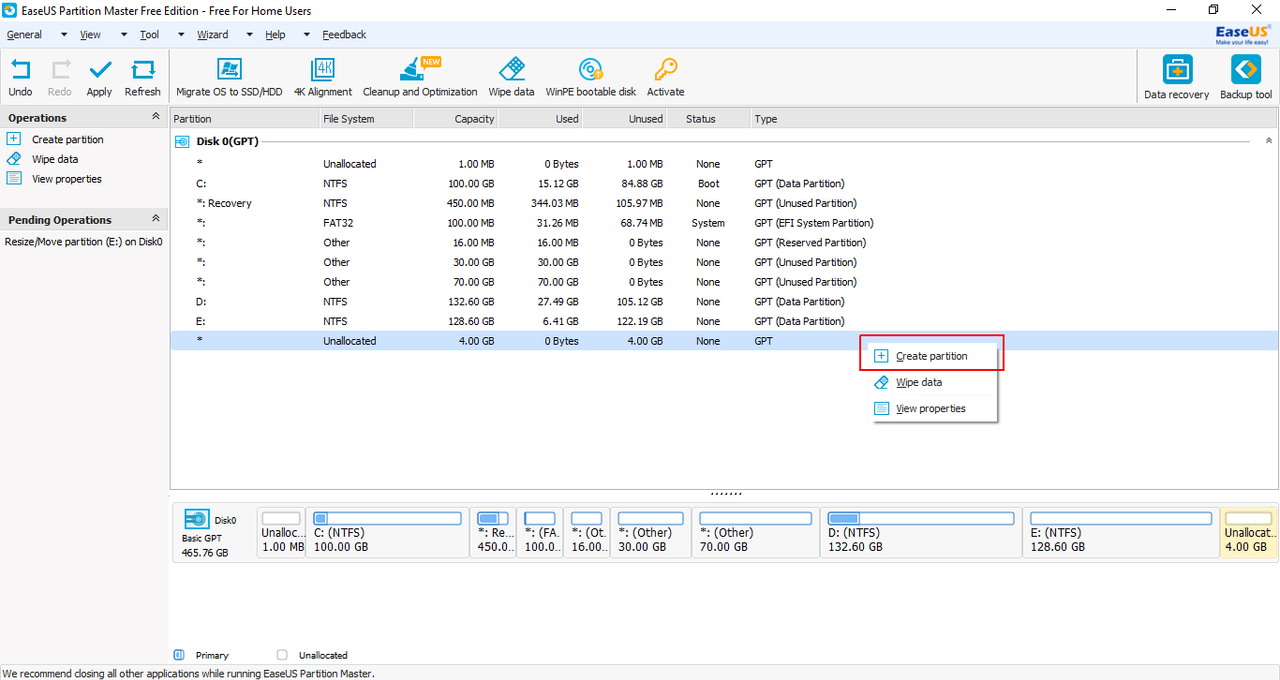
- In this window, select FAT32 as the File System. Click on OK. Finally, click on Apply (present at the top-left of the window).

- Next, extract the Ubuntu ISO into this partition and reboot the computer.
- You will be presented with a rEFInd menu. From here select the Ubuntu partition. It will boot into a Live environment. Continue with the installation.
Cleaning up the changes
- After the installation finishes boot to Windows.
- Run EaseUS Partition Master Free again.
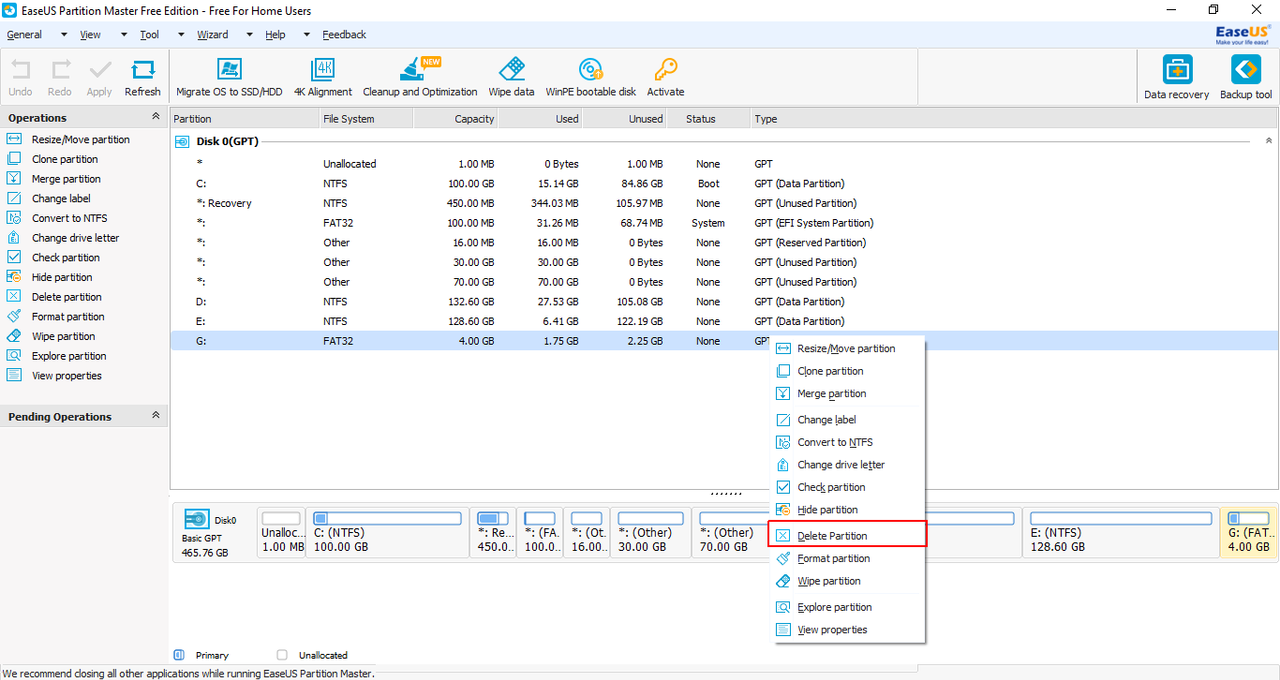
- Right-click on the 4 GB partition and from the context menu select Delete Partition.
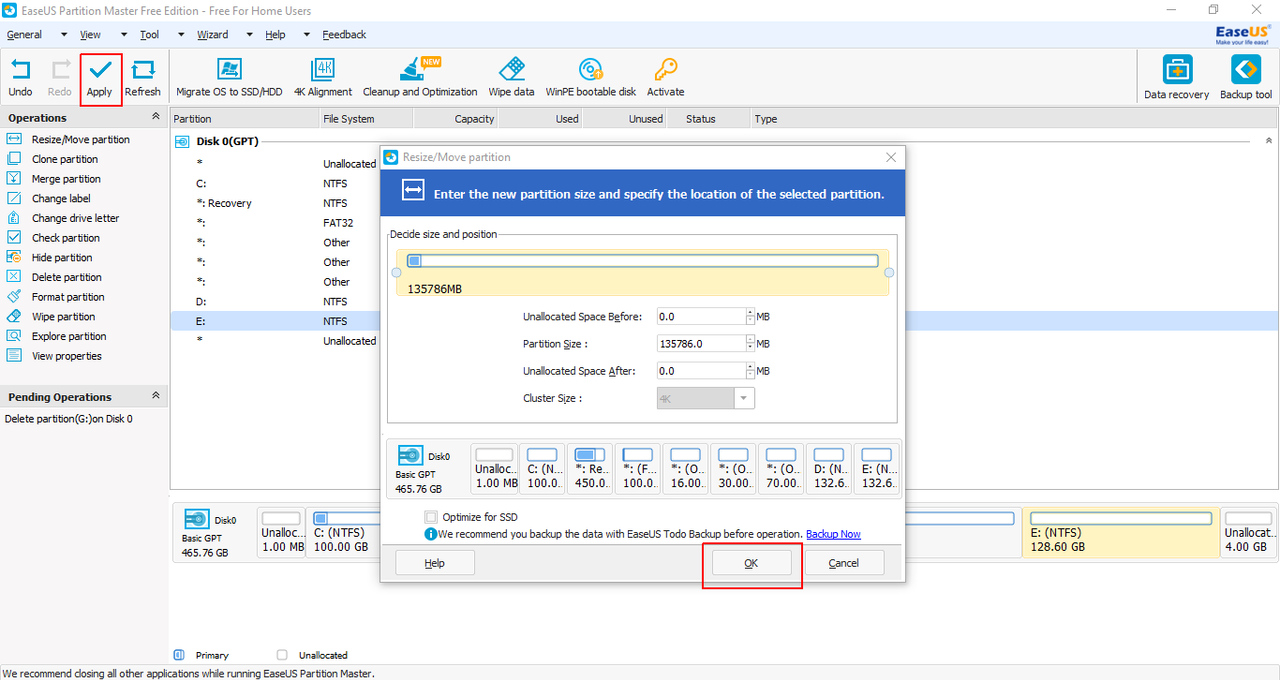
- Right-click on the partition above the Unallocated partition and select “Resize/Move Partition” from the context menu.
- Extend the bar to the extreme right by dragging the button.
- Click on OK.
- Finally, click on Apply (present at the top-left of the window).
- Open a new command prompt with Administrative privileges and mount the volume again:
mountvol S: /S
- Remove rEFInd:
rmdir "S:\EFI\refind" /S /Q
- Reinstall grub as your primary boot manager:
bcdedit /set {bootmgr} path \EFI\ubuntu\grubx64.efi